|
|
Post by ajtriple2 on Nov 26, 2005 20:30:46 GMT -5
Livonia, if your G&G is holding up good, than I guess I will get one of those, the new wood pattern one that is.
|
|
|
|
Post by Livonia on Nov 27, 2005 20:03:40 GMT -5
yeah, its holding up. i love it to death, i would recomend it simply because you can buy parts for it, G&G did well. expecially with all the new problems taken care of.
|
|
|
|
Post by armyofone152 on Dec 1, 2005 19:58:24 GMT -5
I orderd my tm m14 od from airsoft extreme on oct 30 and it still has not come yet. I do know that it is on per-order still but I was wondering how long until it is back in stock. And how would you (tm m14 owners) rate the gun on a scale of 1 to 10, 10 being the best.
|
|
|
|
Post by Toothbrush on Dec 1, 2005 20:35:27 GMT -5
As far as stock guns go, I would go with a 9. Overall it is the best dam gun TM AEG I have seen/used (stock) thus far. A few minor quirks/nnoyances * detract ever so slightly from a nearly perfect gun.
*ie having to fix the bolt
|
|
|
|
Post by Livonia on Dec 1, 2005 23:57:43 GMT -5
hey toothbrush, have you tried taking the entire weapon apart yet (minus gearbox)? i was pleased with how easy it was for the G&G. very simple and fits well.
|
|
|
|
Post by Jacko on Dec 2, 2005 11:31:48 GMT -5
I'd probably give it a 9. The only beef I have with it is that the mags sit a little low in the magwell which may cause mis-feeds on full-auto. However, that problem was easily fixed. The gun's just that damn good.
|
|
|
|
Post by Enkidu on Dec 2, 2005 12:57:21 GMT -5
Having used the gun for some time now, I feel ready to give it a rating: 9 out of 10. It's the best performing AEG I've ever owned or used, takes abuse astoundingly well, and looks damn good after a bit of paint. No points off for length or weight - it's supposed to be that way! It misses the 10 for a few reasons - I lost one of the fake stock bolts during the first play session, it's too easy to lose parts off the hop-up adjustment dial, and parts and mags are a bit thin on the ground. I have not had the problem Jacko spoke of - my mags seat and feed perfectly. Fit and finish is excellent, real-steel accessories like replacement handguards are drop-in affairs and disassembly is a snap.
That said, if there's a 10 out of 10 AEG out there, I haven't met it yet. Reading through this thread, you're sure to get a good idea of what you're going to get yourself into if you purchase the M14.
I'm also excited about the future of the Ver.7 gearbox. Lots of classic small arms from history (BAR, M1 Garand, PPSh, MP38, various squad-level MGs) would lend themselves well in AEG form with the use of this gearbox.
|
|
|
|
Post by Toothbrush on Dec 2, 2005 16:53:57 GMT -5
hey toothbrush, have you tried taking the entire weapon apart yet (minus gearbox)? i was pleased with how easy it was for the G&G. very simple and fits well. So far all I have done is seperate the stock fron the reciver/barrel as I showed in previous pages and my bipod guide. Beyond that I havn't dissasembled any of the components because I havn't needed/wanted to. |
|
|
|
Post by armyofone152 on Dec 2, 2005 21:20:41 GMT -5
wow you guys give great information, thanks.
|
|
|
|
Post by Livonia on Dec 3, 2005 12:25:22 GMT -5
[glow=red,2,300] REVIEW G&G M14.[/glow] The skinny white box with the eye catching logos and picutes sweetens the day. Once you open it the cleaning rod is the first thing you find funny, something like "the barrel is this long?!!?" yes it is that long, 500mm. The red velvet manual is eye catching as well, with the chrome letters on it. THE GUNIt's heavy as hell, the heaviest airsoft rifle i have ever held. the only thing about the looks that pissed me off was the handgaurd, its plastic (located above outer barrel). the construction is so solid, the inside of the stock is like a honey comb supported style stock. the sights line up great, and the metal they use is nice. the only troublesome thing that i have already took off is the slide lock, when you expect the bolt to slide like magic the stopper does it its supposed, not too cool. Weapon can be compleatly dissasembled into major components in less than 5 minutes.  PREFORMANCE PREFORMANCEThe gun is dead accurate, i was using .25's and its perfect, 340ish fps is perfect for this stock gun, i was testing it using the "true flesh test" at 40 yards, hit my freind standing way out 16/20 times with .25's. The gun preforms very well, except the selector switch is a little fidgety, same with the mag at first but you get used to it. shoots through both sides of a pop can like butter, almost goes through the bottom. The sound is amazing, its VERY quiet. the long barrel is great for long range shots. GEARBOXa lot of people think that the M14 gearbox is a POS, i dont understand, if your not an idiot and dont jam it you wont mess up your piston. i immidiatly got a systema aluminum piston. its really easy to navigate in, and doesnt "explode" on you. a benefit is that a section is cut out for quick and easy spring change without disassembleing the gearbox. OVERALL8.5/10 (a few minor things to get used to.) G&G has most lilkely fixed all of the problems with the M14 as of now, but when i purchased mine the bugs were still around, i must have lucked out. NOTE: 7mm GEARBOX. supports systema parts as far as i know. I have a Systema Aluminum piston, Systema M130. Waiting On: Systema torque up's, systema shims, Tanio Koba HOP TWIST barrel 509mm. 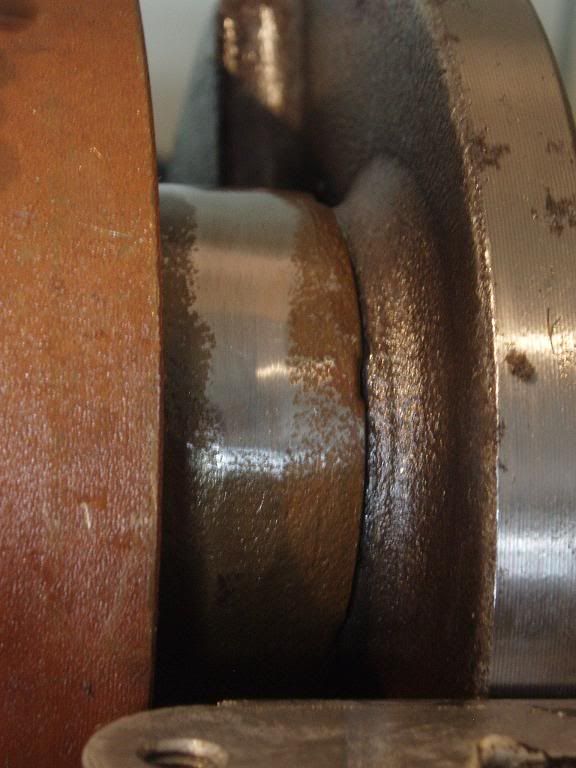 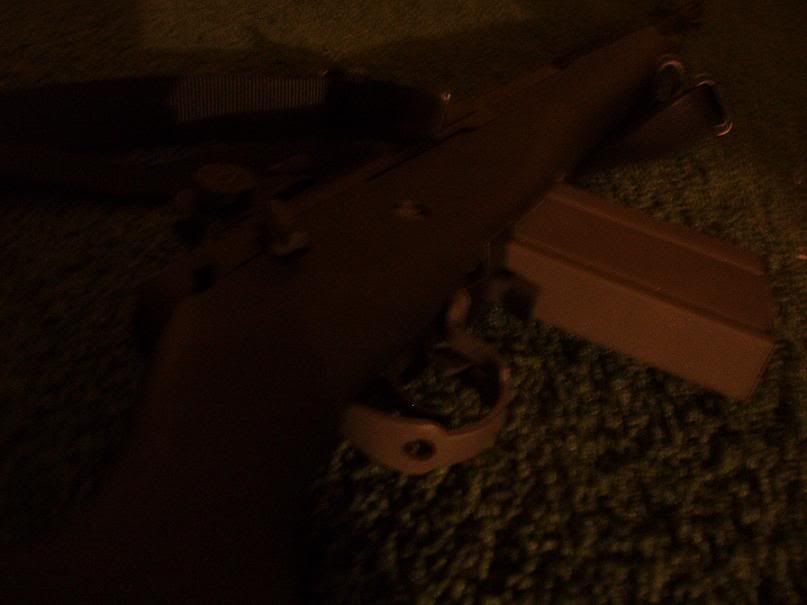 |
|
|
|
Post by armyofone152 on Dec 8, 2005 21:27:44 GMT -5
Got my M14 today I am soo happy
|
|
Snoopy
New Member
 "Blast 'em!"
Ceramic tiles! Soylent grey is ceramic tiles!
"Blast 'em!"
Ceramic tiles! Soylent grey is ceramic tiles!
Posts: 275
|
Post by Snoopy on Dec 12, 2005 14:06:44 GMT -5
I haven't read this topic in a while, but here is my experience in converting the wood stock.
The drill press idea won't work well. First as Enki mentioned you would need to find a way to clamp the stock securely. Second you would need a really long drill bit. As it is, with a drill gun you still need a long drill bit. And lastly you can't feel what is happening in the stock. I'll explain this later.
After killing the first stock, the biggest lesson I learned was that this project can't be rushed. Which meant it was primarily going to dremmel work. When I started the second stock, the first thing I did was bore out the back of the stock. There are tool compartments in the back which meant most of the work was already done. I dremmeled an area for the spade bit to start. Basically a circle as big as the bit that will be used for drilling. If you try to bore a larger hole into a small one with a spade bit, the bit will want to jump all over the place ruining your work. Once the holes were done I cleaned up the stuff between the holes with the dremmel and some chisels.
With the easy part done I decided to do the most daunting task. The boring of the hole through the grip of the stock. I started with a small long drill bit from the inside to the battery compartment area. If the hole went well it would later serve as a guide for the larger spade bit. Luckily the hole looked good. Then, as before, I prepped the area with the dremmel before I started drilling. The spade bit that I used was smaller that would be needed to fit the motor. When drilling this hole patience is needed. I would drill a short distance and then check to make sure I was still headed in the right direction. When I finally made it to the battery compartment I felt a whole lot better.
Next I widened the rest of the inside of the stock. A good chunk of material needed to be removed from both sides from the mag well to the grip. I wanted to get that done so when I started making the hole for the motor bigger I could spot check as I went ago.
Making the motor hole bigger, what a huge pain. Thankfully I have the flexible shaft for my dremmel. With a lot of slow chiseling and dremmel work the hole finally allow the motor to fit. When making the hole big enough there really isn't a lot of room to make mistake. As the hole neared completion I would hold the stock so my hand was on the outside of the area I was dremmeling. When I could feel the heat, I would know I was close to the outside of the stock.
Lastly, I notched out a space for the hop-up. All of the internal fit inside the wooden stock. Still left to finish are replacing the metal around the mag well. Make a little more room for the motor, right now it isn't firing quite right. And finish the battery compartment.
I'm sure that I left some stuff out, but it has been about a month since I last had time to work on it. We'll get pics posted when we get a chance.
|
|
|
|
Post by snaper on Dec 16, 2005 10:41:08 GMT -5
I am working on a similar project. Almost finished fitting the motor last night. Need to do the notch for hop-up and some final fitting. I am waiting for your pictures and results. I haven't read this topic in a while, but here is my experience in converting the wood stock. The drill press idea won't work well. First as Enki mentioned you would need to find a way to clamp the stock securely. Second you would need a really long drill bit. As it is, with a drill gun you still need a long drill bit. And lastly you can't feel what is happening in the stock. I'll explain this later. After killing the first stock, the biggest lesson I learned was that this project can't be rushed. Which meant it was primarily going to dremmel work. When I started the second stock, the first thing I did was bore out the back of the stock. There are tool compartments in the back which meant most of the work was already done. I dremmeled an area for the spade bit to start. Basically a circle as big as the bit that will be used for drilling. If you try to bore a larger hole into a small one with a spade bit, the bit will want to jump all over the place ruining your work. Once the holes were done I cleaned up the stuff between the holes with the dremmel and some chisels. With the easy part done I decided to do the most daunting task. The boring of the hole through the grip of the stock. I started with a small long drill bit from the inside to the battery compartment area. If the hole went well it would later serve as a guide for the larger spade bit. Luckily the hole looked good. Then, as before, I prepped the area with the dremmel before I started drilling. The spade bit that I used was smaller that would be needed to fit the motor. When drilling this hole patience is needed. I would drill a short distance and then check to make sure I was still headed in the right direction. When I finally made it to the battery compartment I felt a whole lot better. Next I widened the rest of the inside of the stock. A good chunk of material needed to be removed from both sides from the mag well to the grip. I wanted to get that done so when I started making the hole for the motor bigger I could spot check as I went ago. Making the motor hole bigger, what a huge pain. Thankfully I have the flexible shaft for my dremmel. With a lot of slow chiseling and dremmel work the hole finally allow the motor to fit. When making the hole big enough there really isn't a lot of room to make mistake. As the hole neared completion I would hold the stock so my hand was on the outside of the area I was dremmeling. When I could feel the heat, I would know I was close to the outside of the stock. Lastly, I notched out a space for the hop-up. All of the internal fit inside the wooden stock. Still left to finish are replacing the metal around the mag well. Make a little more room for the motor, right now it isn't firing quite right. And finish the battery compartment. I'm sure that I left some stuff out, but it has been about a month since I last had time to work on it. We'll get pics posted when we get a chance. |
|
|
|
Post by snaper on Dec 17, 2005 17:06:23 GMT -5
Just finished my M14 real wood stock conversion. Here is the result!  I am working on a similar project. Almost finished fitting the motor last night. Need to do the notch for hop-up and some final fitting. I am waiting for your pictures and results. I haven't read this topic in a while, but here is my experience in converting the wood stock. The drill press idea won't work well. First as Enki mentioned you would need to find a way to clamp the stock securely. Second you would need a really long drill bit. As it is, with a drill gun you still need a long drill bit. And lastly you can't feel what is happening in the stock. I'll explain this later. After killing the first stock, the biggest lesson I learned was that this project can't be rushed. Which meant it was primarily going to dremmel work. When I started the second stock, the first thing I did was bore out the back of the stock. There are tool compartments in the back which meant most of the work was already done. I dremmeled an area for the spade bit to start. Basically a circle as big as the bit that will be used for drilling. If you try to bore a larger hole into a small one with a spade bit, the bit will want to jump all over the place ruining your work. Once the holes were done I cleaned up the stuff between the holes with the dremmel and some chisels. With the easy part done I decided to do the most daunting task. The boring of the hole through the grip of the stock. I started with a small long drill bit from the inside to the battery compartment area. If the hole went well it would later serve as a guide for the larger spade bit. Luckily the hole looked good. Then, as before, I prepped the area with the dremmel before I started drilling. The spade bit that I used was smaller that would be needed to fit the motor. When drilling this hole patience is needed. I would drill a short distance and then check to make sure I was still headed in the right direction. When I finally made it to the battery compartment I felt a whole lot better. Next I widened the rest of the inside of the stock. A good chunk of material needed to be removed from both sides from the mag well to the grip. I wanted to get that done so when I started making the hole for the motor bigger I could spot check as I went ago. Making the motor hole bigger, what a huge pain. Thankfully I have the flexible shaft for my dremmel. With a lot of slow chiseling and dremmel work the hole finally allow the motor to fit. When making the hole big enough there really isn't a lot of room to make mistake. As the hole neared completion I would hold the stock so my hand was on the outside of the area I was dremmeling. When I could feel the heat, I would know I was close to the outside of the stock. Lastly, I notched out a space for the hop-up. All of the internal fit inside the wooden stock. Still left to finish are replacing the metal around the mag well. Make a little more room for the motor, right now it isn't firing quite right. And finish the battery compartment. I'm sure that I left some stuff out, but it has been about a month since I last had time to work on it. We'll get pics posted when we get a chance. |
|
Damo/DK
New Member
Training to be a Professional Disc Golfer.
Posts: 580
|
Post by Damo/DK on Dec 17, 2005 17:57:01 GMT -5
That is looking very good, snaper.
|
|